Mise en Place.
Kitchen organizing who? Growing up all I wanted to do was (gasp) work in the food industry. At age 11 I would turn on Food Network as soon I got home from school. I would make dinner beside my mom every night (sobbing) and eat out at fanastic Columbus restaurants with friends as soon as that Bruegger’s Bagel check would hit in high school. Throughout high school I had the pleasure of working front of house at Pistacia Vera, a real deal French bakery in the heart of Columbus’ German Village. I got to sample the literal best croissants, macarons, and cookies I’ve ever tasted on the daily.
At PV, working became my love, a passion, because I actually loved what I did. Once I moved into my teaching career, I actually was able (to the absolute glee of my little foodie heart) transfer my skills to back of house one summer and I became something of an assistant pastry chef. I learned how to run a kitchen from top to bottom: prep, inventory, equipment and food organization, working with limited space, being methodical and linear, understanding the end goal, using technique, and baking. This profound experience directly impacts how I navigate my kitchen organizing today. Did I know then that I would step foot into so many clients’ homes to do this exact thing I loved, minus the cooking (which I’m so okay with, lol)? In my wildest dreams- never. But without the endless hours in that professional kitchen, would I actually have the chops to turn peoples’ kitchens on their heads? Not at all.
*Alexa, play “Invisible String” by Taylor Swift.* 😭

So, what did the kitchen teach me about organizing?
Before I ever helped clients tackle their pantries, I spent hours in a small French bakery where every square inch mattered. Space was tight, the pace was fast, and there was zero room for chaos. Those lessons stuck with me — and they translate surprisingly well to home kitchens.
1. Metro racks: the unsung heroes of order
In a professional kitchen, metro racks are everywhere — because they’re strong, modular, and adaptable. I learned that vertical storage solves much of the “we don’t have space” problems. At home, a simple chrome rack can hold everything from pantry bins to small appliances. You can even hang tools or baskets from the sides for extra storage.
2. FIFO: First In, First Out — and why it actually matters
In bakeries, there’s no monetary room for error. So you can’t let the old macarons expire while the new batches get used. FIFO (first in, first out) is non-negotiable. Translating that to home kitchens keeps food waste down and helps you actually see what you have. Try organizing shelves so older items naturally sit in front, or use clear bins so nothing gets lost.
3. Keep branded containers when they work
When organizing your metro racks, some packaging is already perfect. Morton salt pours cleanly. Baking powder canisters seal tight. And if they already sit nicely on the rack shelves (not loose or too tiny), then there’s no reason to decant everything just for aesthetics. Instead, save your decanting energy for things that actually benefit from it — like bulk nuts, flours, or snacks that need airtight seals. The bakery taught me that function beats “pretty” every time.
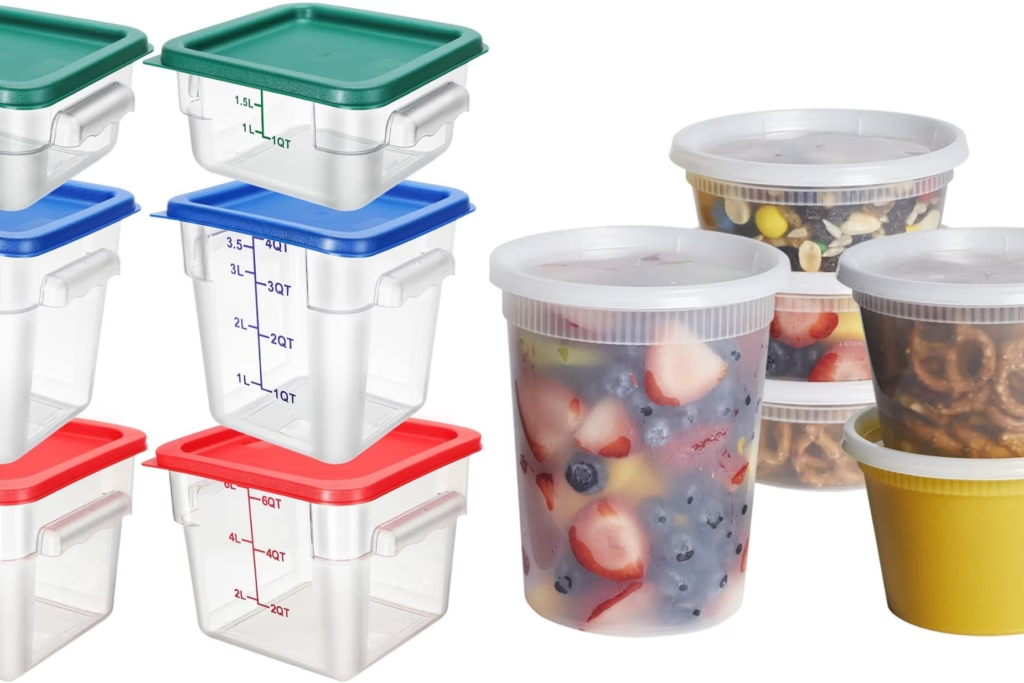
4. Use consistent, stackable containers
That said, when you do decant, go for consistency. In the bakery, every container had a “stacking family”, as group of other storage containers that they stack with. Even the lids for said families stack. It was a great space-saver and made putting away and finding containers to fit the amount of item prepped easy. At home, matching containers make your fridge and pantry feel calm and intentional, and they simplify storage (and restocking).
5. Hang what you can
We hung as much as possible, like whisks, ladles, and sieves, partly because drawer space was limited, but also because it made bulkier tools accessible. In small home kitchens, the same principle applies. A wall hook, pegboard, or even an S-hook on a metro rack keeps things visible and easy to grab. Bonus: you’ll realize which tools you actually use most.
6. Give everything a “home zone”
Professional kitchens are built on muscle memory — every ingredient and tool has a permanent place. That consistency makes speed and efficiency possible. In homes, zones do the same thing: a baking area, a coffee zone, a snack drawer for kids. You spend less time searching and more time enjoying the space.
7. Label that “ish”
We labeled all food in the kitchen! Using masking tape and a Sharpie, each item was label with its name and date it was made. It was kind of an unspoken contest in the kitchen of who could label food the neatest. Everyone knew each other’s handwriting and writing style (all caps? lowercase? fun color Sharpie?). Labeling had a culture of it’s own! And it was insanely important. Without it, no one would have any idea which food was about to go bad, or what it even was.
How to actually keep up with kitchen organizing?
Sure, all these tips sound nice, but how can we actually maintain an orderly kitchen? This was something else I learned at the bakery and have carried with me ever since. Aside from everything having a designated storage spot, the kitchen BEGS for routine. Think about it in terms of shifts. There’s openers and closers, to start. During opening shift, there’s a checklist of tasks that need done in order for work to begin for the day. Closing shifters also have a checklist to complete before the leave for the day. Our home kitchens should run the same way, though not as complicated and definitely with less checklist items!
For consistent kitchen organizing, during “opening shift” (each morning) unload the dishwasher, prep waters and lunches, begin prepwork for lunch/dinner/dessert, and load breakfast dishes into the dishwasher. During “closing shift” (before you go to sleep) you should load the dishwasher, santize and wipe down all surfaces including the dining table, restock whatever’s needed (napkins, paper towels, salt, etc.), write tomorrow’s food plan out, set coffee, and ALWAYS START THE DISHWASHER. If you consistently (and by consistently I mean each and every day) fulfill these shift checklists, you will maintain your kitchen organization.
Be sure, though, that you are dispatching non-kitchen items that commonly enter the kitchen each day, such as mail, kid’s papers, random things your kids bring into the home, clothes, shoes, cardboard, plastic bags, etc.. Only keep the necessities in the kitchen and designate permanent homes for those other items somewhere else in the home so they can easily be put away during closing shift.
Why I love kitchen organizing
Pistacia Vera taught me a deep, underlying love for order in the kitchen, since using a highly functional kitchen is so fun. Looking for the buttercream? No problem! You know you can always find it downstairs by the backstock salt. Need a spatula? It’s literally always going to be in the same place it always is, with the other kitchen equipment.
Recipes can bring some anxiety or chaos to a kitchen, but when you know how to find what’s needed it makes the whole experience more enjoyable. When reorganizing client’s kitchens, I always pull from my bakery experience of form follows function. Once you can enjoy using your kitchen and it stays clutter-free, you’ll ALWAYS want to keep it that way. Make your kitchen work for you, not you working for your kitchen!